Homeward bound block tutorial
As a part of Candi’s Quilt Challenge of the month, we were asked to make a tutorial on the block that we made for last month’s challenge. My block from last month’s challenge is called Homeward Bound.
Candi’s challenge called for 12-inch blocks, but I think if I ever make a quilt with this block, I will want it to be a 16-inch block. The tutorial will be for the 12-inch block, but I will leave links to the templates for the 16-inch block at the end of this tutorial. First, you will want to print out one “Home Base Block” template (you only need one of these), one page with four “Straight Geese Block” templates (you will need all four of these), and two pages with two “Corner Geese Block” templates (you will need all four of these). That leaves you with 9 total templates, plus some extra Home Base Block Templates for future blocks.
Before you go any further, measure these blocks to make sure the template is the correct size. The outer line is where you cut your block (and your fabric). The inner line shows you which portion will be seen in the final block after quarter-inch seams are sewn. Each caption shows what size the template should be.
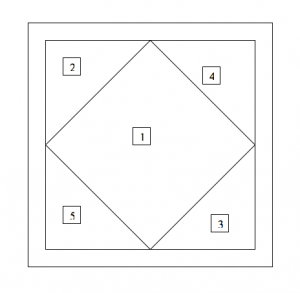
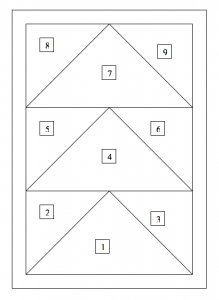
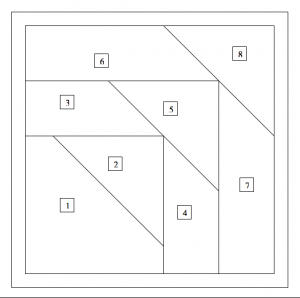
Cut out the nine blocks along the outer line.
Now, you have your templates ready!
The fabric choice in this block is up to you, but I used 7 charm squares for flying geese. I will refer to these fabrics as the “patterned fabric.” I also used Kona Ash as the background, which will be referred to as the “background fabric” in the cutting directions. These measurements are pretty close to the real dimensions; so if you need more wiggle room in your paper piecing, don’t be afraid to make the pieces of fabric ¼ inch to ½ inch larger than my suggestions. Try making one block first before cutting fabric for all the other blocks.
Fabric measurements for 12-inch Homeward Bound Block:
Center “Home Base” block
Patterned Fabric:
-one 2 3/4 inch square to place in position 1.
Background fabric:
-two 2 3/4 inch squares cut in half on diagonal to make four triangles, to place in positions 2, 3, 4, and 5.
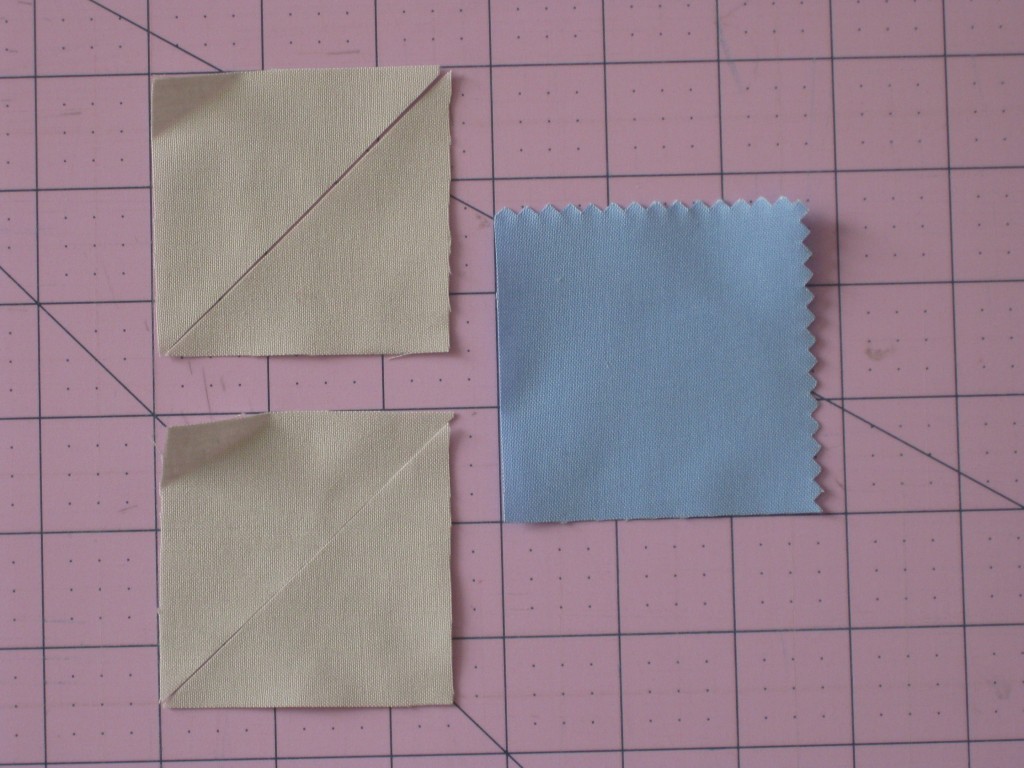
Four Straight geese Blocks:
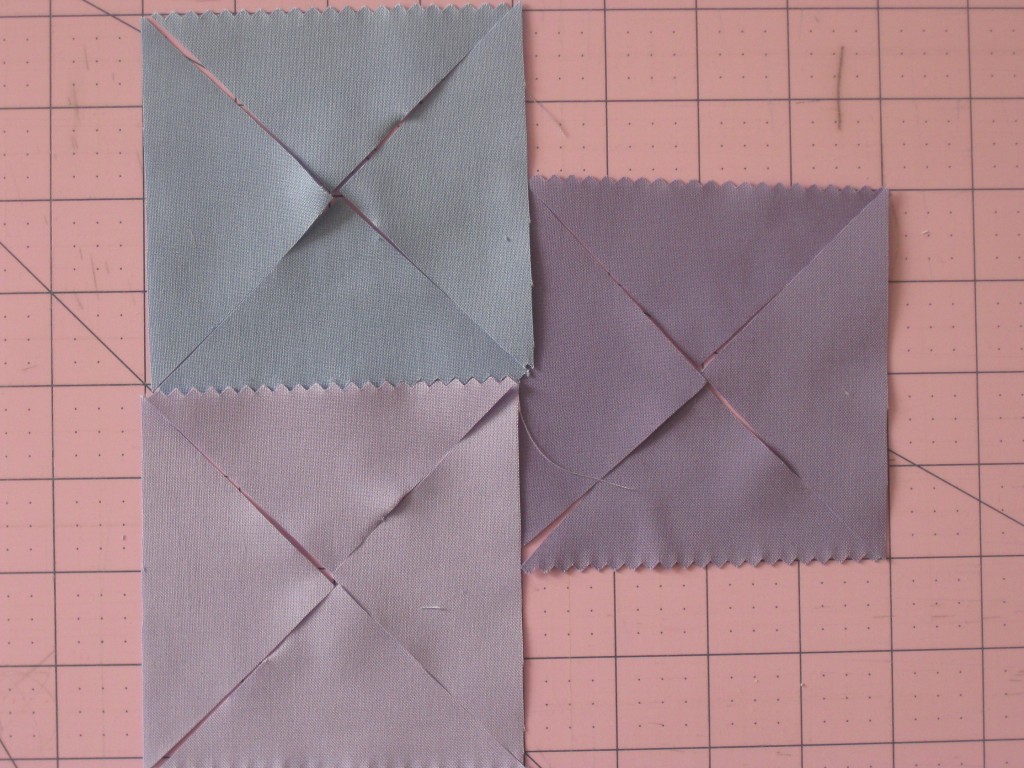
Patterned Fabric:
-three (all same or each different) 4 1/4 inch squares, cut diagonally twice to produce twelve triangles to place in positions 1, 4, and 7 on all four blocks.
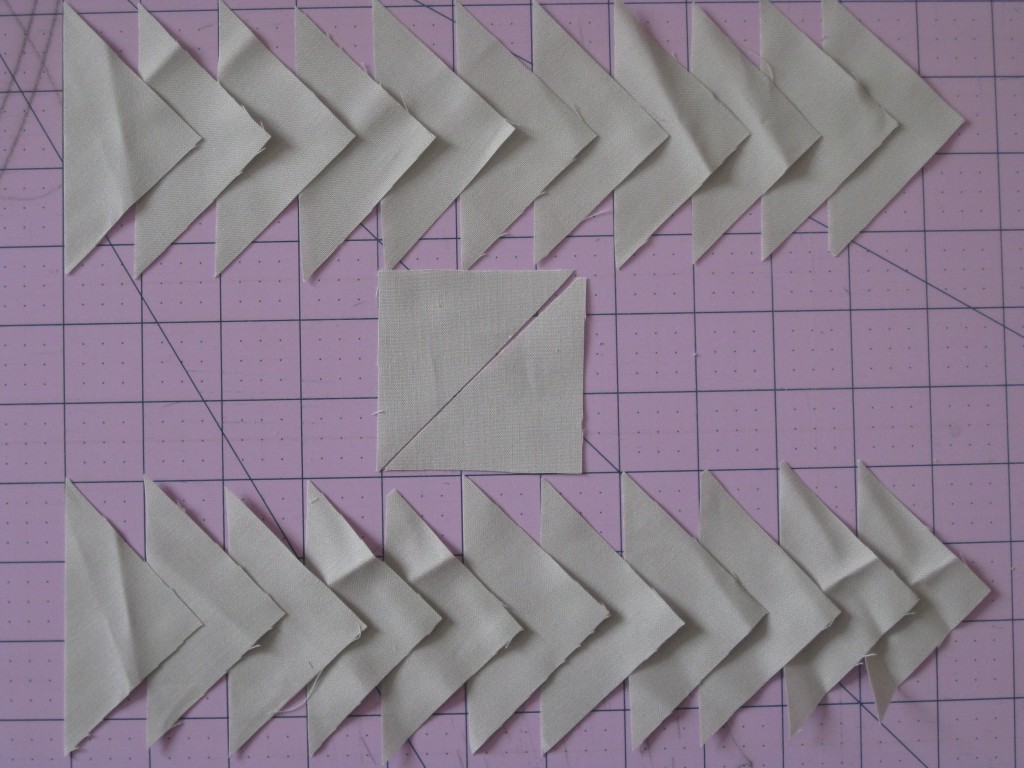
Background Fabric:
-twelve 2 3/4 inch squares, cut diagonally once to make twenty-four triangles to place in positions 2, 3, 5, 6, 8, and 9 on all four blocks.
Four Corner (diagonal) Geese Blocks:
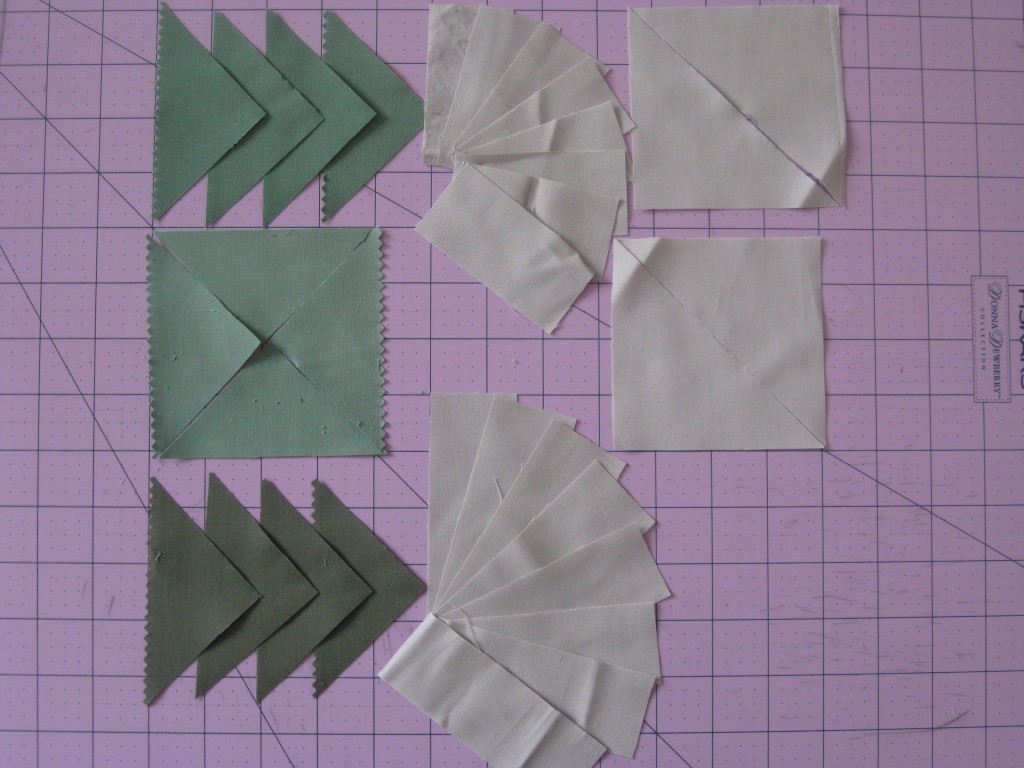
Patterned Fabric:
-three (all same or each different) 4 1/4 inch squares, cut diagonally twice to produce twelve triangles to place in positions 2, 5, and 8 on all four blocks.
Background Fabric:
-two 4 inch squares, cut diagonally to make four triangles to place in position 1 on all four blocks.
-eight 1 3/4 inch x 3 1/4 inch rectangles for positions 3 and 4 on all four blocks.
-eight 1 3/4 inch x 4 1/4 inch rectangles for positions 6 and 7 on all four blocks.
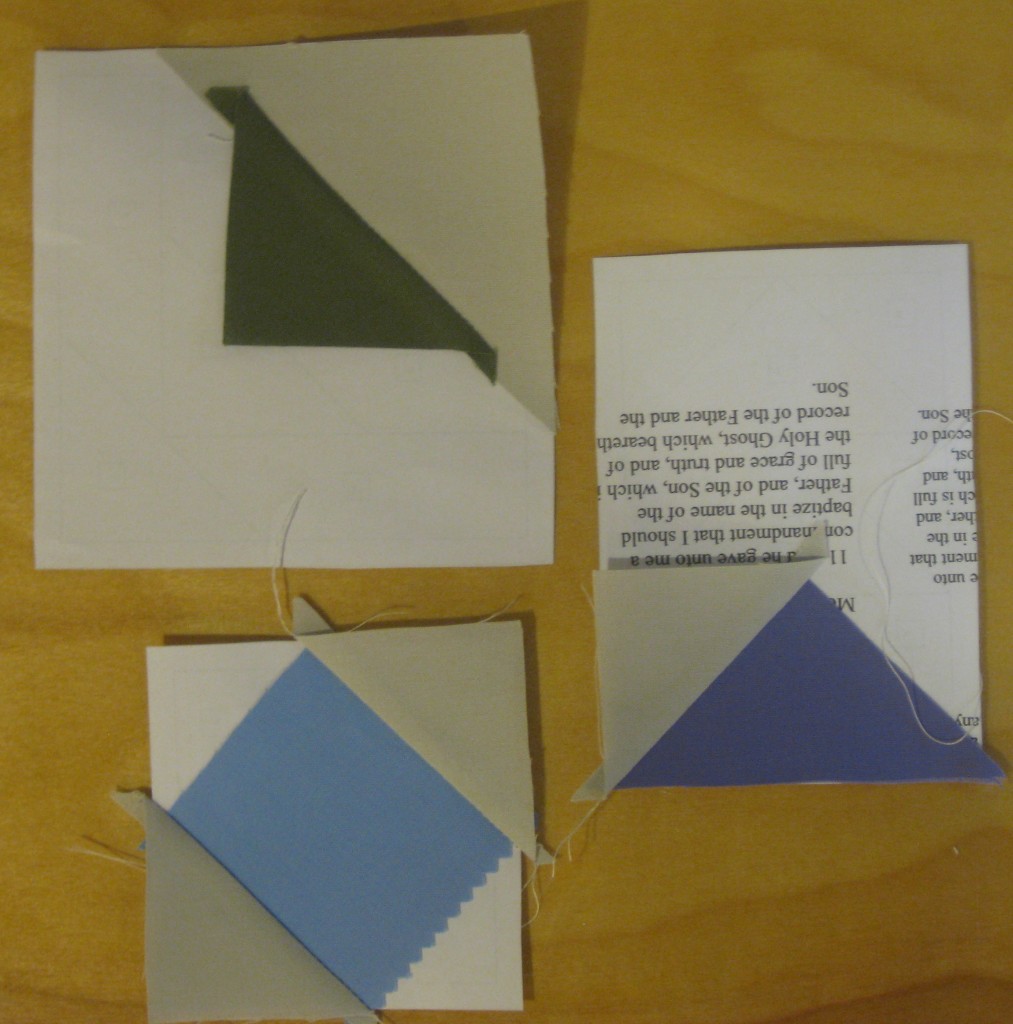
I may have done step 2 and 3 in the home base block in this first picture.
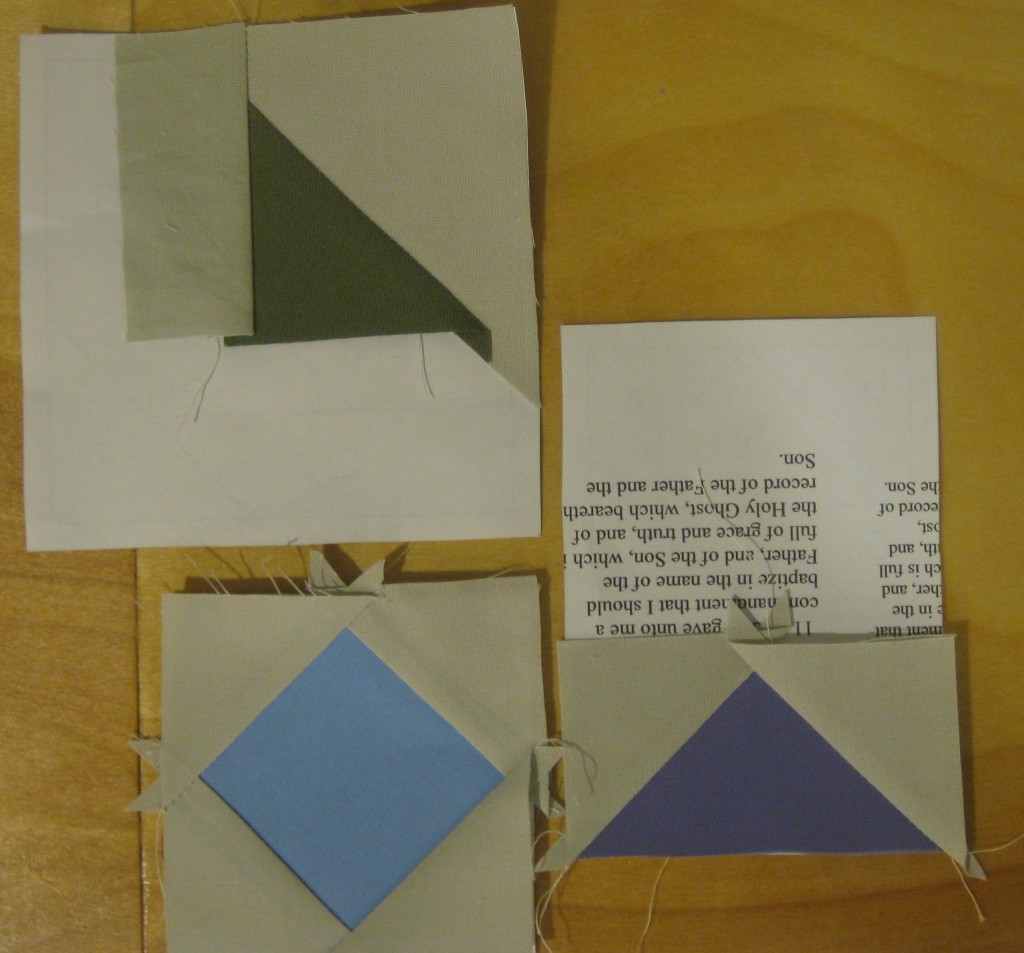
Be sure to clip off excess fabric (anything more than 1/4 of an inch away from each sewn seam) before the next step. Don’t worry about trimming off excess until after that side has been sewn.
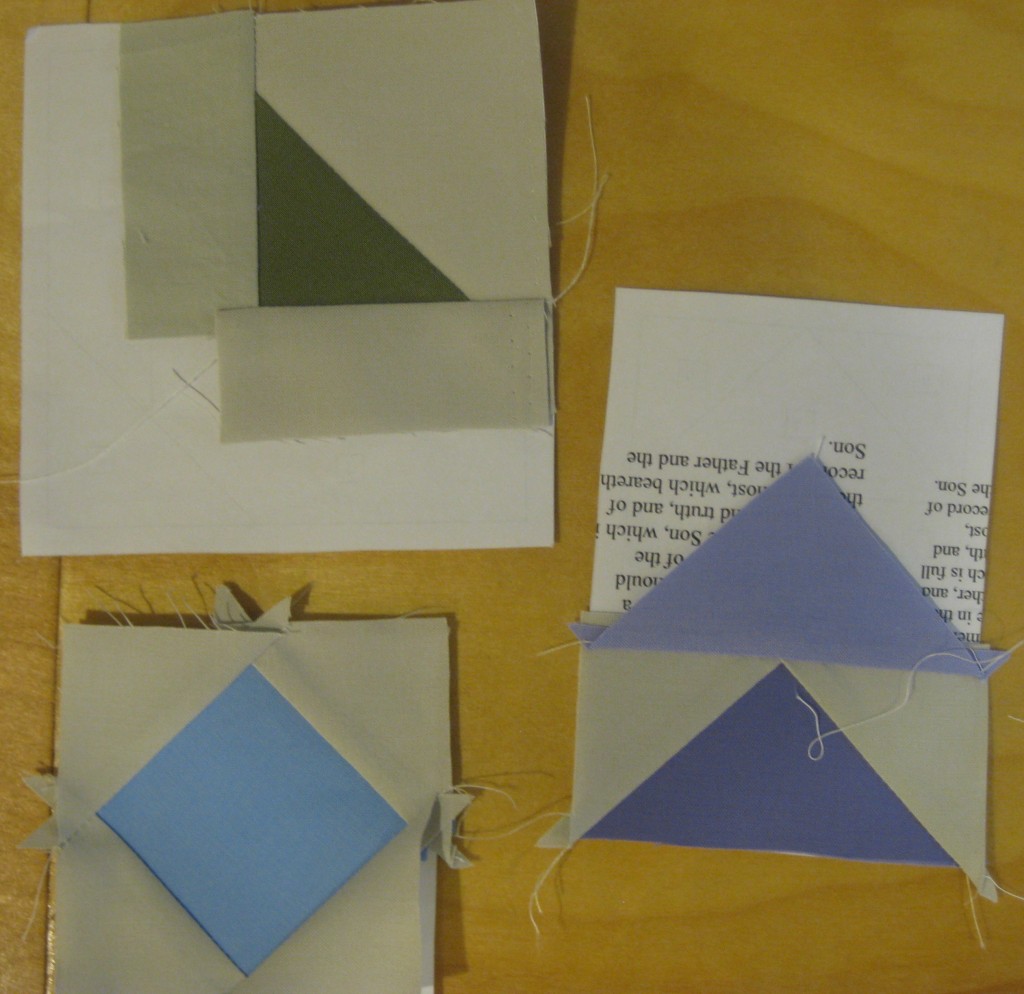
When placing the triangles, be sure to center them in your template. This will assure that you have a 1/4 inch seam on both sides of the triangle.
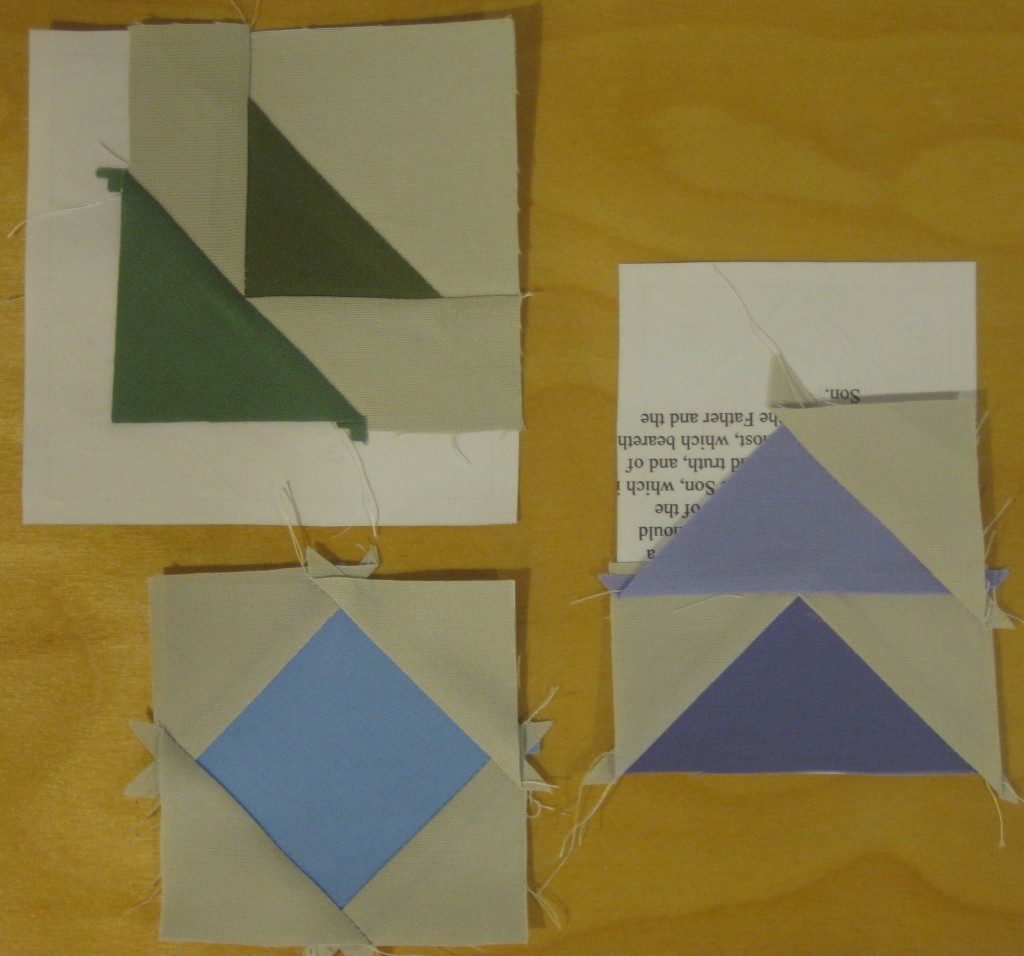
And fast forward until the end….
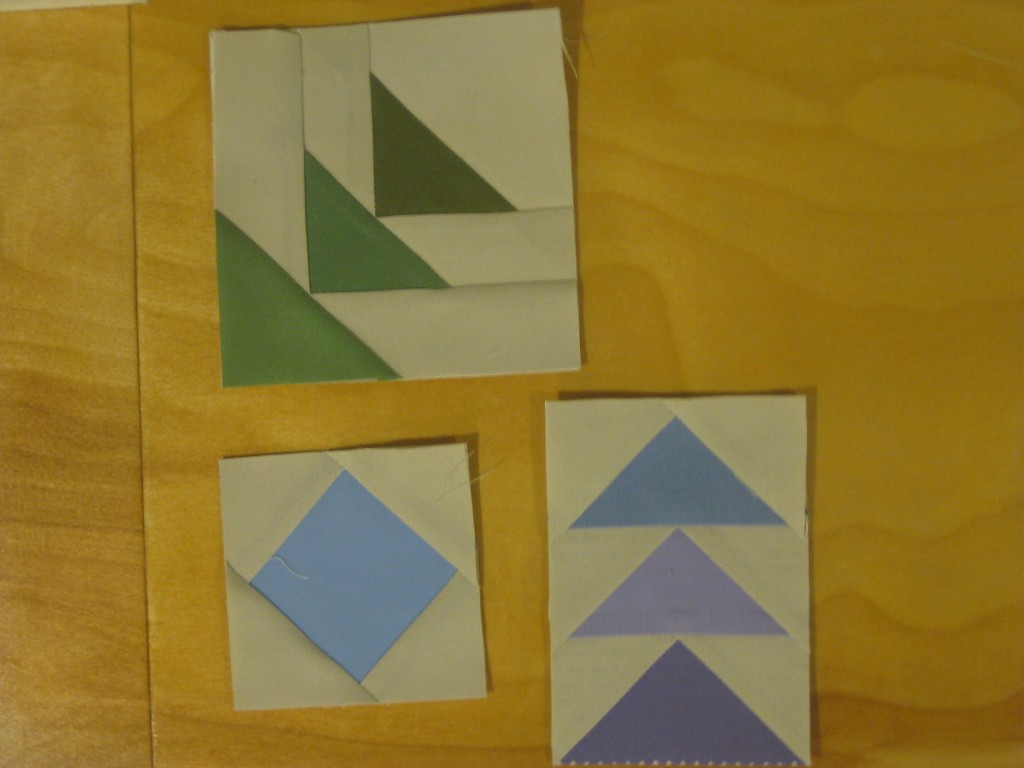
Trim off the excess with a rotary blade and ruler, using the outer template lines as your guide.At this point, some people prefer to remove the paper from the block and proceed to sew the blocks together. I actually don’t mind sewing through the paper to join my blocks together, so I usually don’t remove my paper until the block is sewn together. Choose which method you prefer, and let’s make our final block. Sew two Straight Geese Blocks to the Home Base Block, geese pointing toward the Home Base Block. Remove paper at seams. Press seams toward Home Base Block. Sew a Corner Geese Block to each side of a Straight Geese Block. Remove paper at seams and press seams out toward Corner Geese Blocks. Repeat that step with the remaining 2 Corner Geese Blocks and 1 Straight geese block. From here, you can match your seams easily and lock them in place because the seams should be pressed in opposite directions. Place a pin at each seam intersection, and sew the rows together, removing the pins as you sew. Press seams outward away from Home Base Block. I did not have a picture for these steps, but hopefully the final picture will help you figure it out.
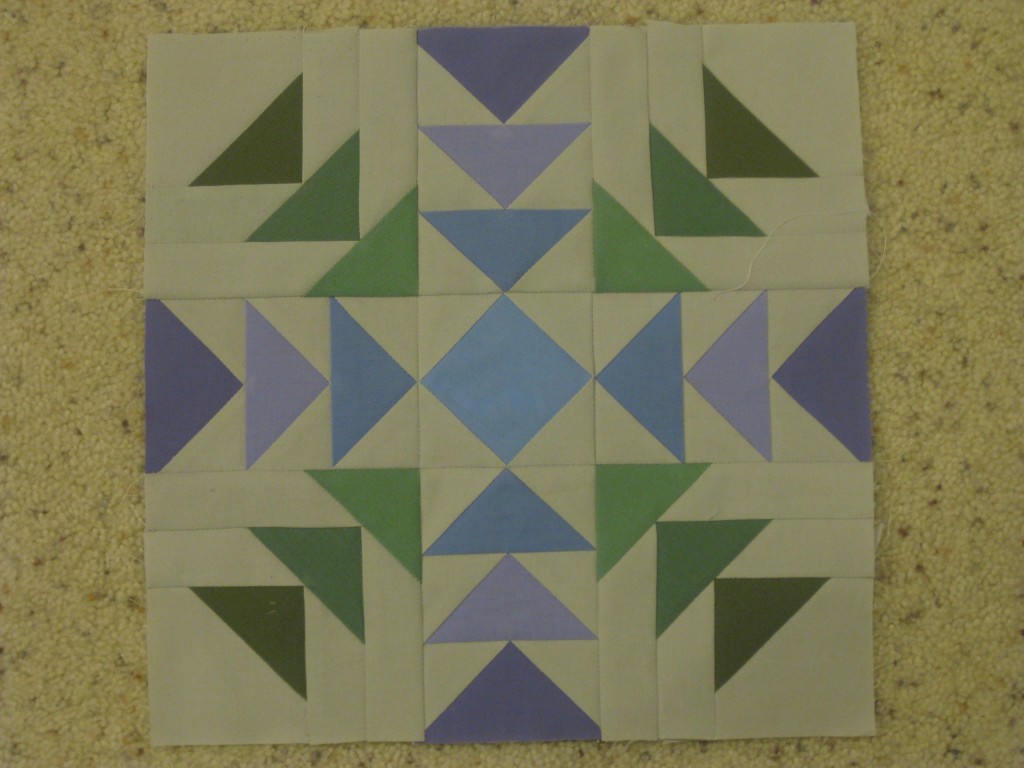
And, you are done! Way to go! Your final block should measure 12.5 inches x 12.5 inches.

Leave a comment
You must be logged in to post a comment.